


Steps:
Launch an EC2 instance: First, launch an Ubuntu instance on AWS EC2.
Install Java: Jenkins requires Java to run, so install the latest version of Java using the following command:
 sudo apt-get update
 sudo apt-get install fontconfig openjdk-11-jre
Install Jenkins: Add the Jenkins repository key to the system, add the Jenkins repository to the package sources, update the package list, and install Jenkins using the following commands:
 curl -fsSL https://pkg.jenkins.io/debian-stable/jenkins.io.key|sudo tee \
     /usr/share/keyrings/jenkins-keyring.asc > /dev/null
echo deb [signed-by=/usr/share/keyrings/jenkins-keyring.asc] \ https://pkg.jenkins.io/debian-stable binary/ | sudo tee \ /etc/apt/sources.list.d/jenkins.list > /dev/nullsudo apt-get update sudo apt-get install jenkins -yStart Jenkins: Once the installation is complete, start the Jenkins service using the following command:
 sudo systemctl start jenkins
 sudo systemctl enable jenkins
 sudo systemctl status jenkins
Open a web browser and go to
http://<your-server-public-ip>:8080.Unlock the Jenkins by entering the Administrator password which is stored in
var/lib/jenkins/secrets/initialAdminPassword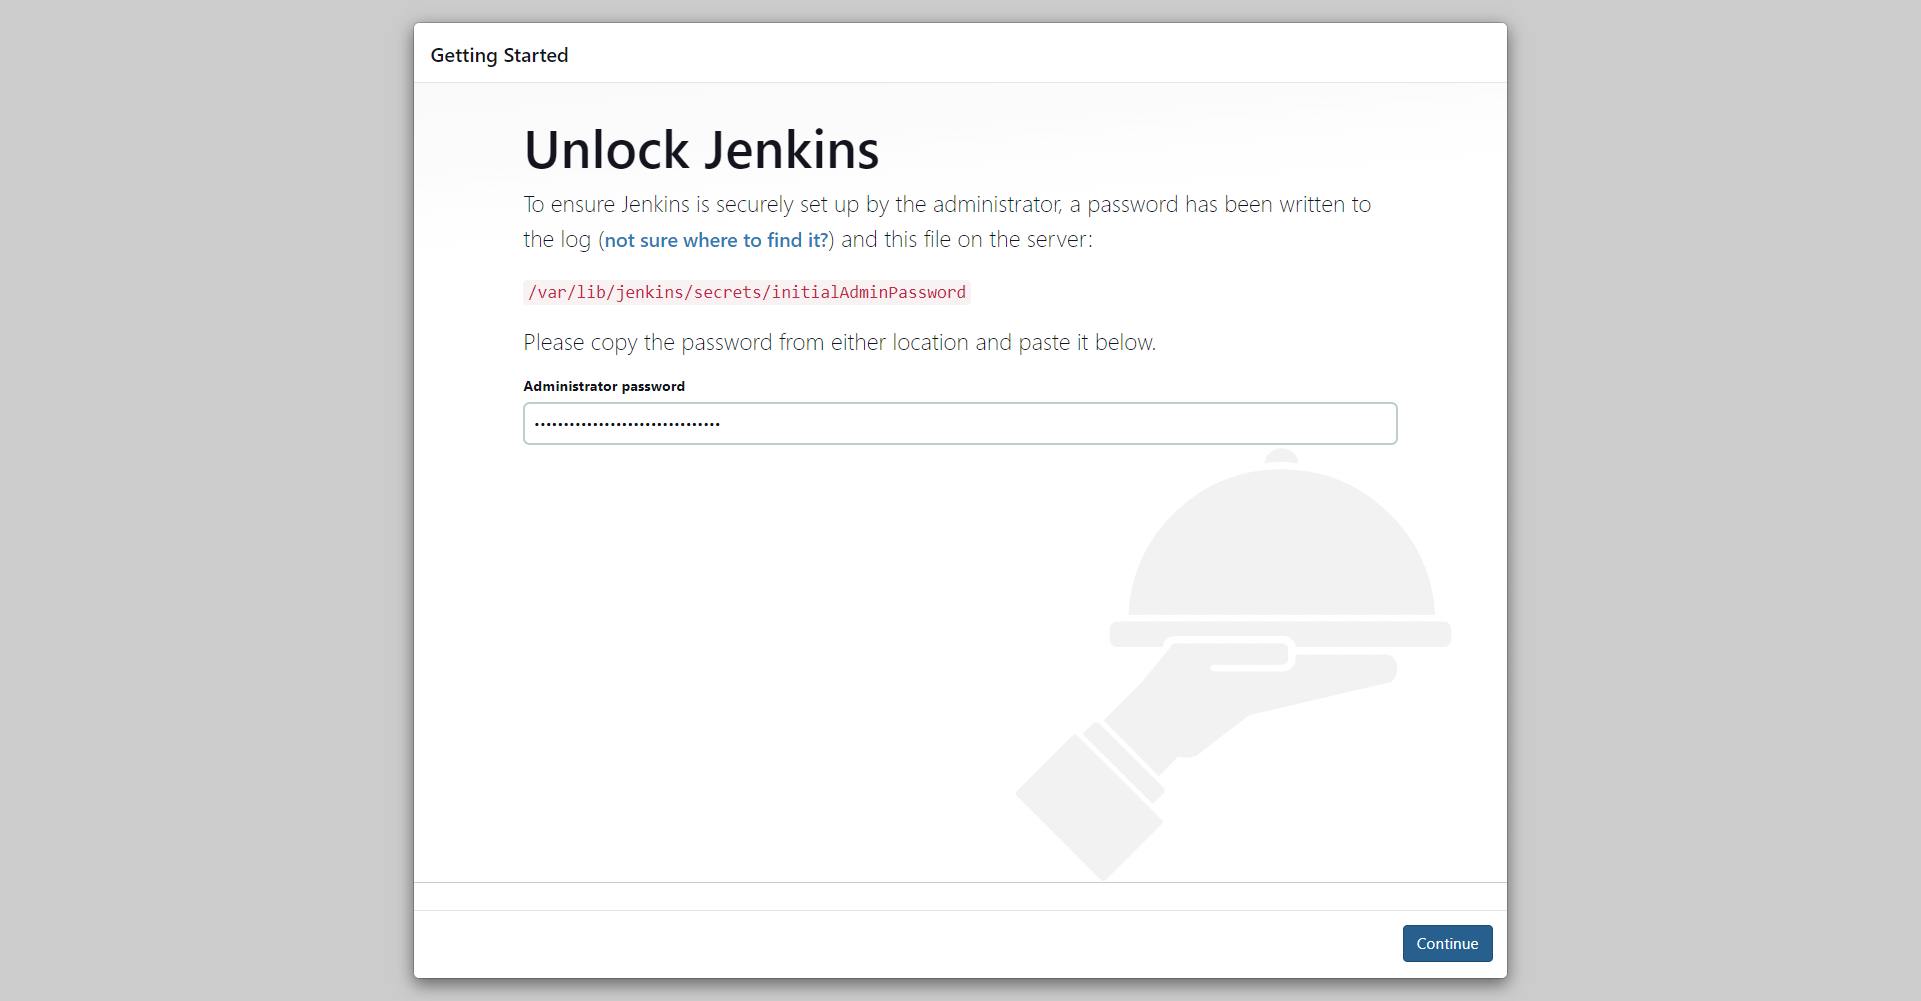
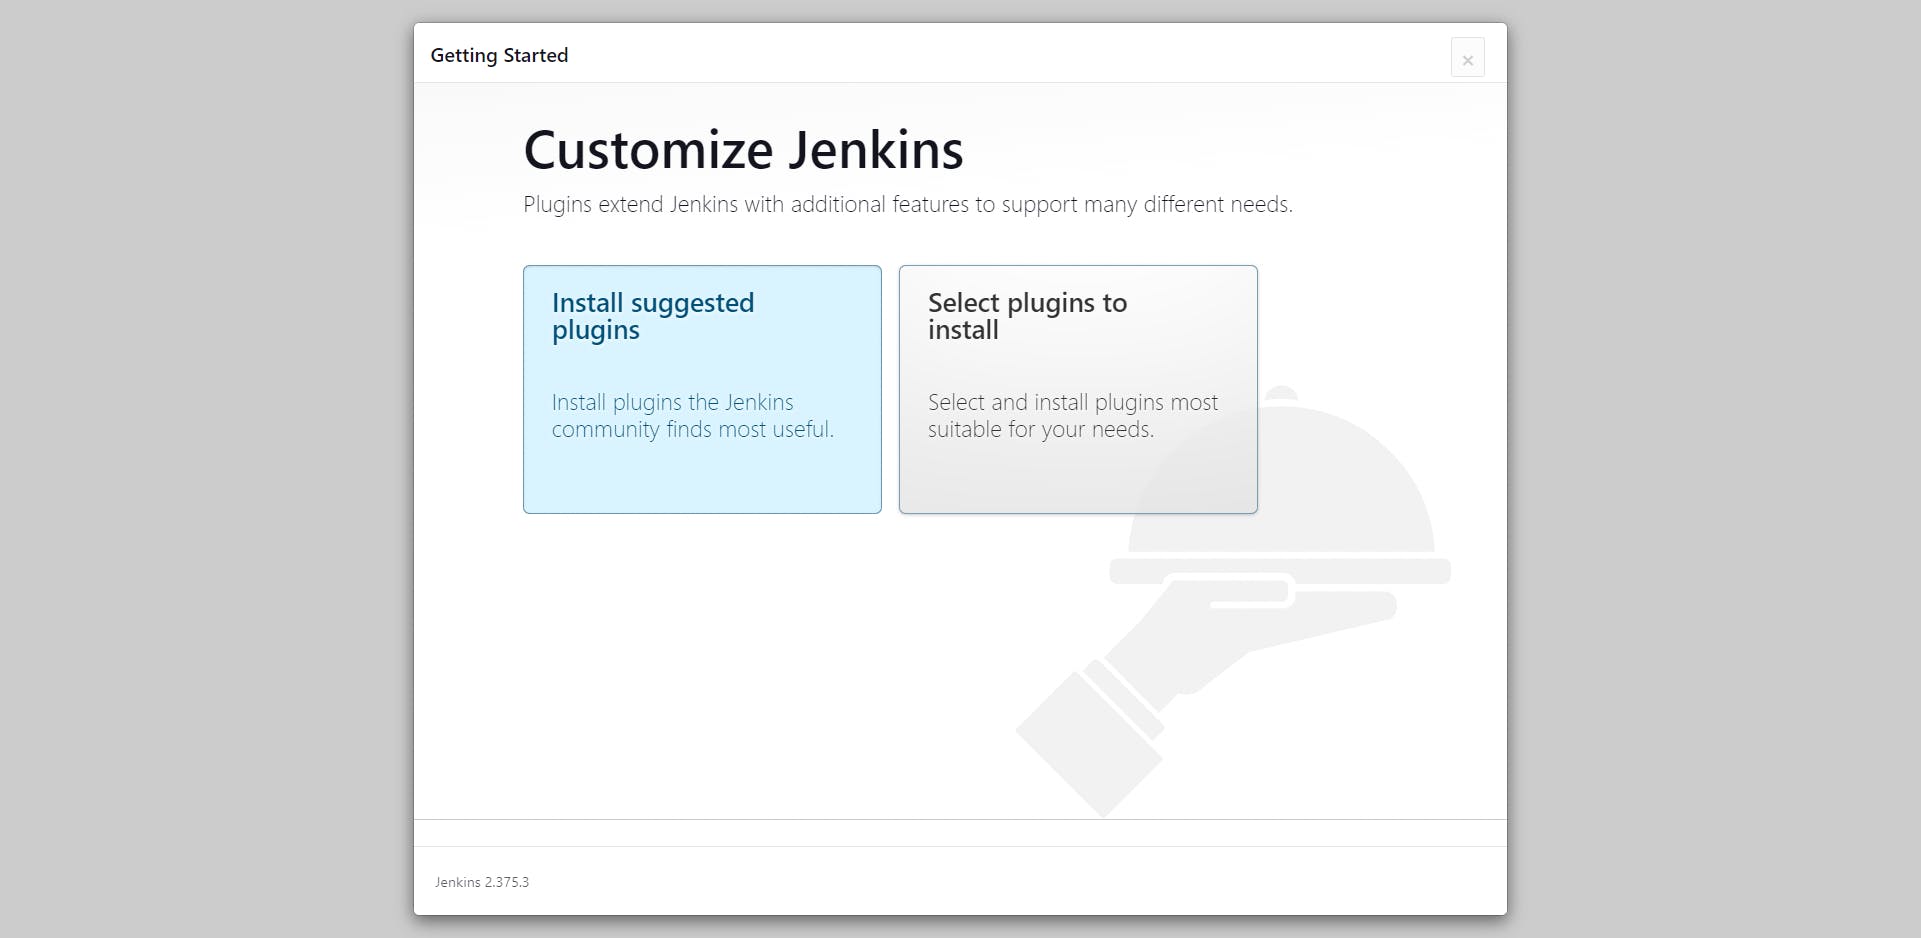
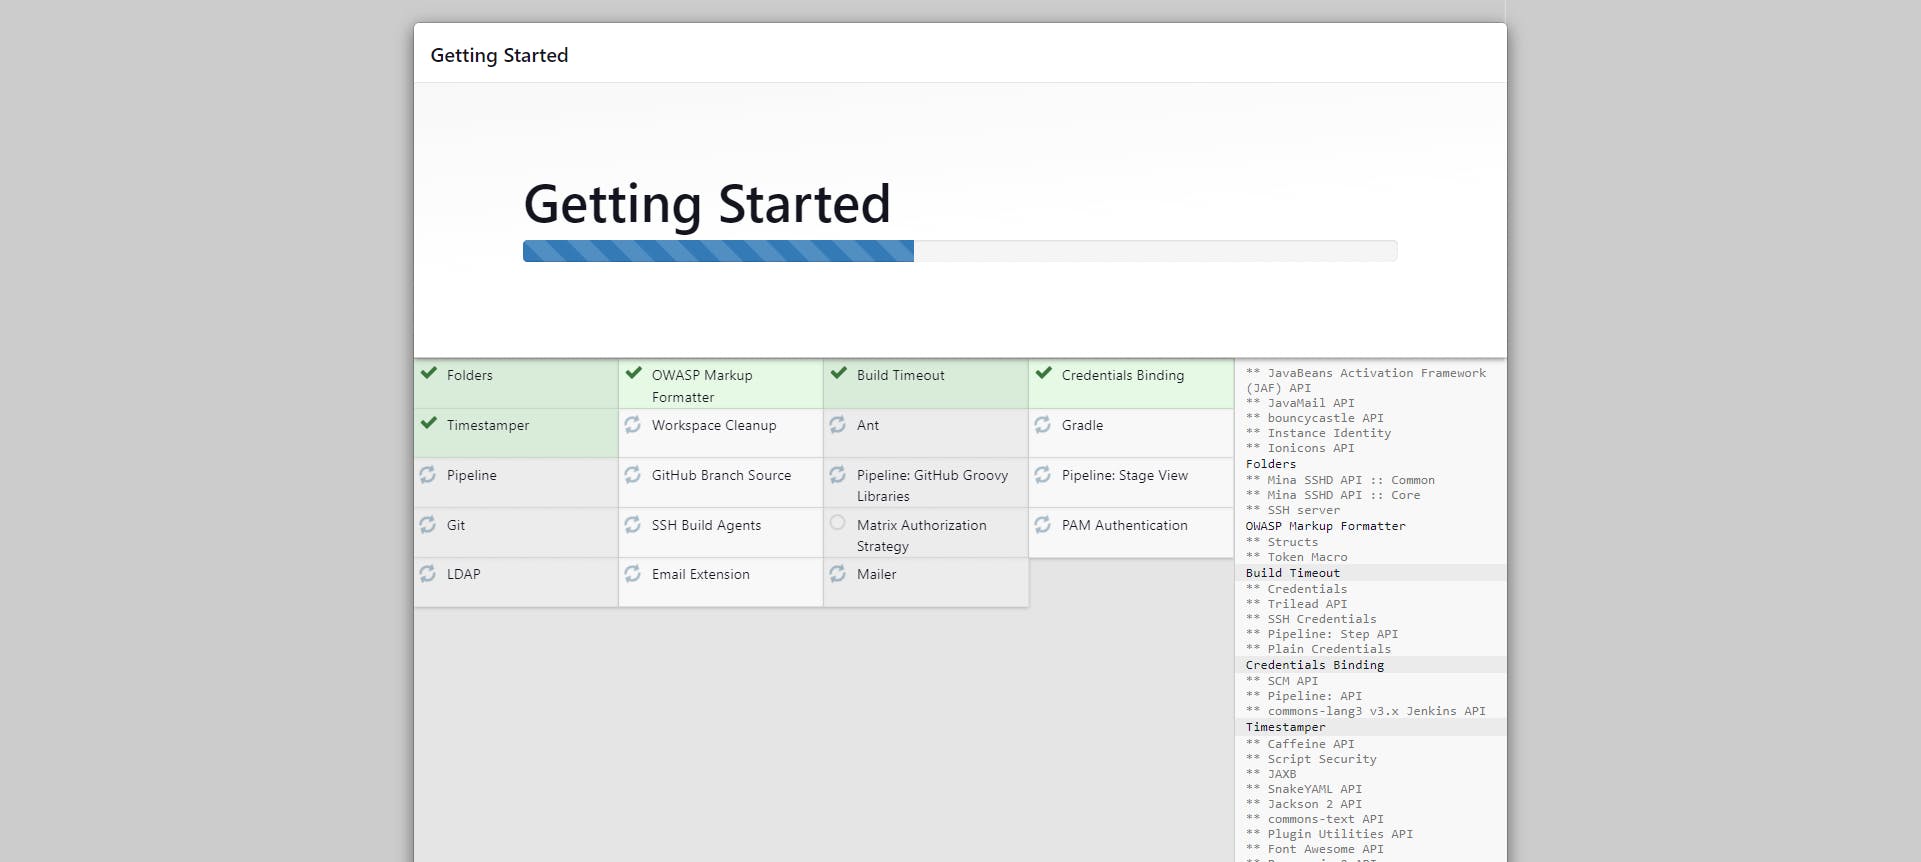
Click on suggested plugins. It is going to install all the suggested plugins.
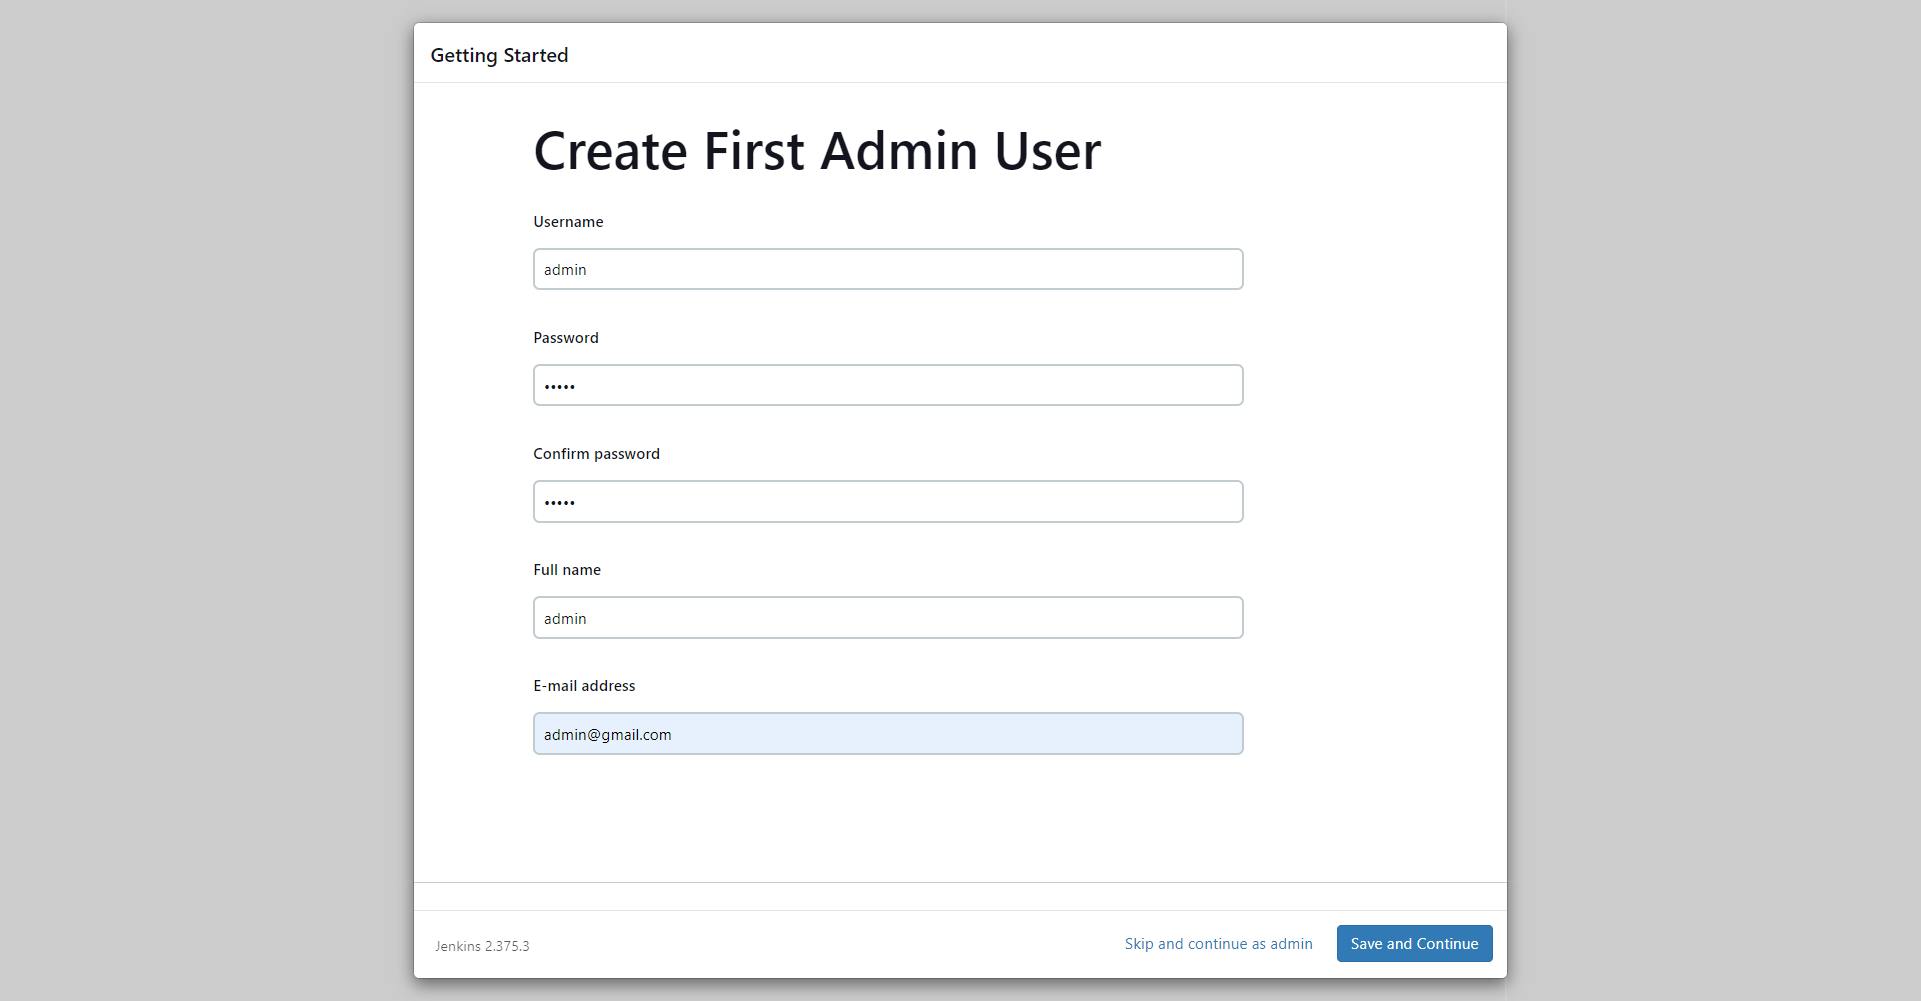
Create First Admin User and click on Save and Continue.
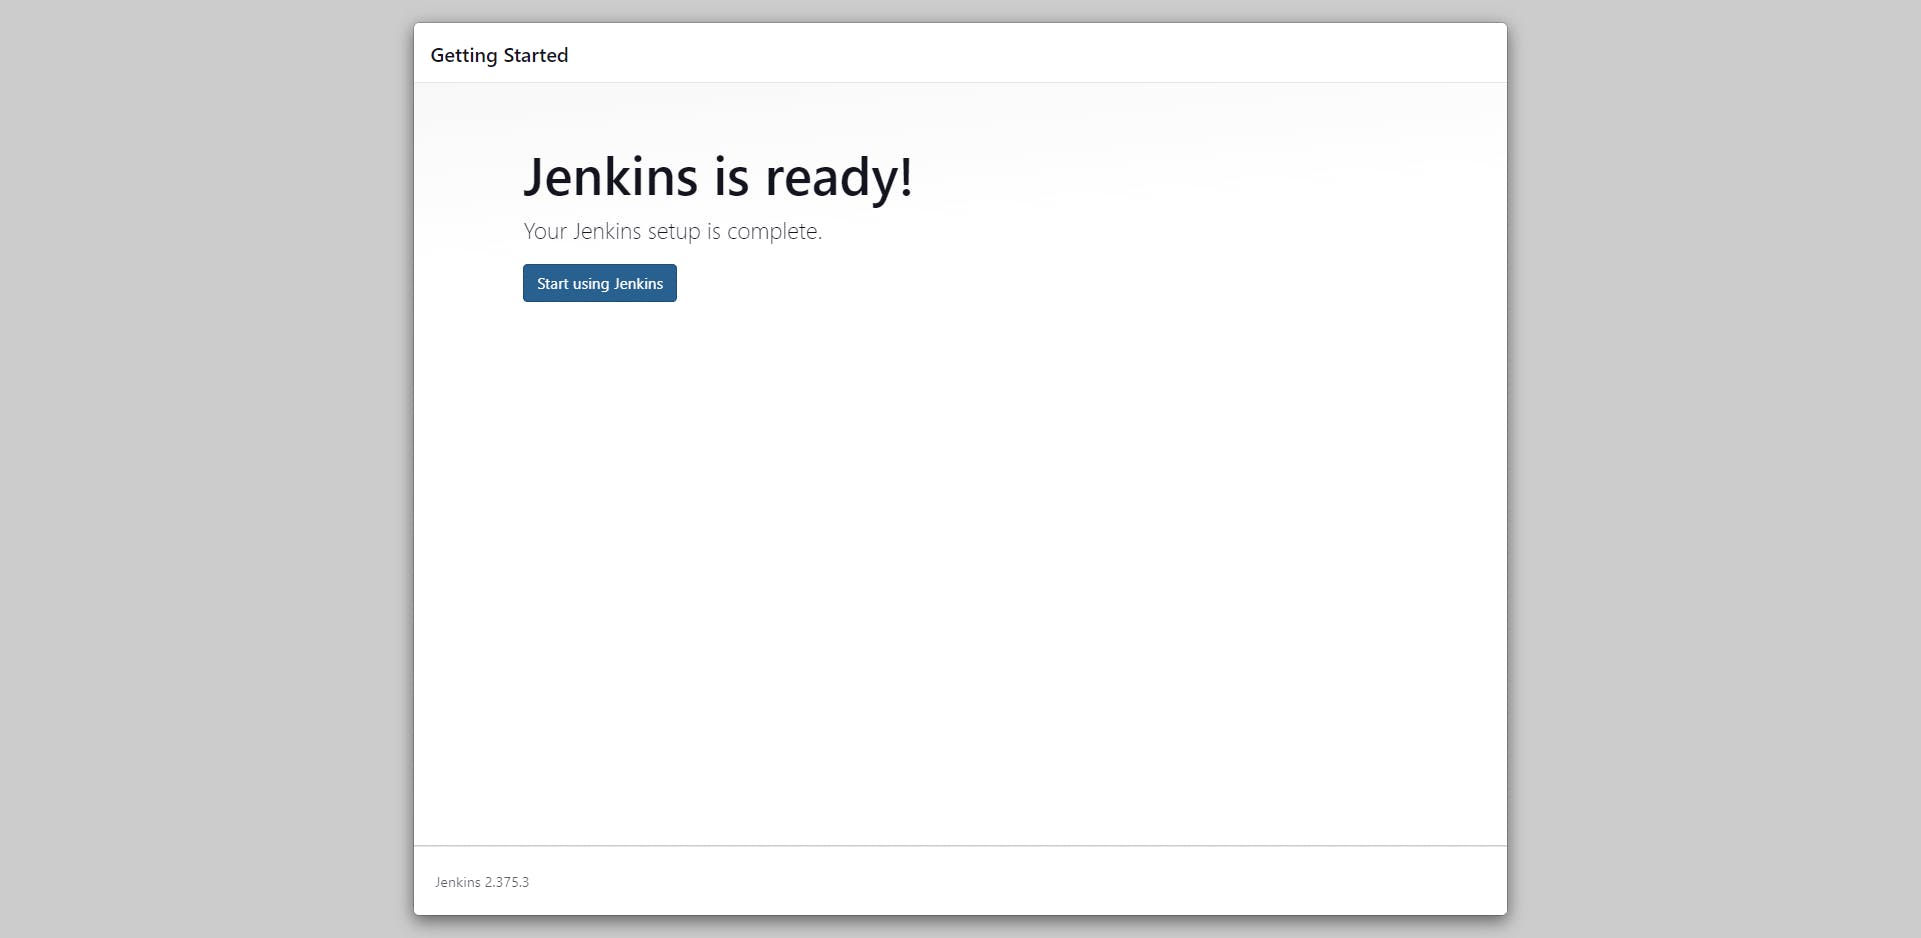
Click on Start using Jenkins to log into Jenkins Dashboard.
I hope this article will help you.
-K NIRANJANA