Project-3: Deploying Application in Kubernetes
"Step-by-Step Guide to Deploying a Web Application in Kubernetes"


Here in this project, Im going to demonstrate how to deploy a Web Application in Kubernetes. I have used Redis for DataBase for the Application.
The total number of PODs involved in this demonstration is 5 Pods & 3 Services.
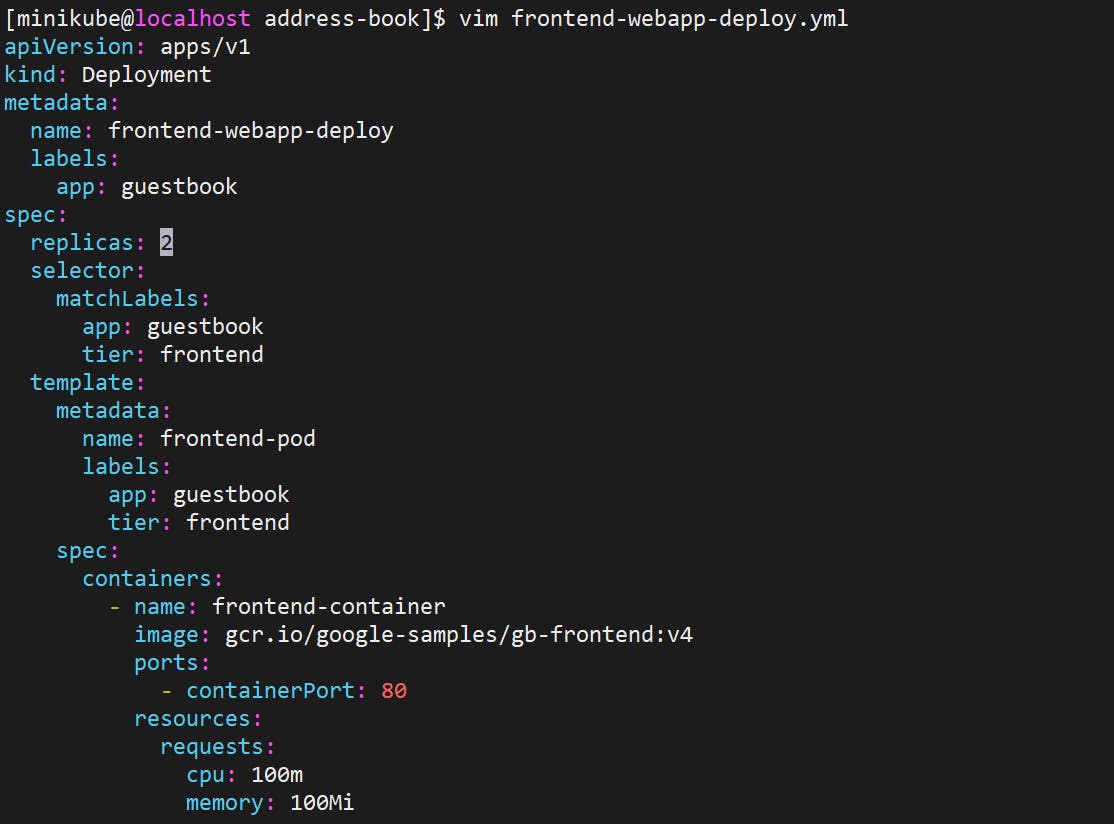
2 Pods are responsible for frontend web application Deployment
1 Pod is responsible for Redis DB Deployment in Master Node
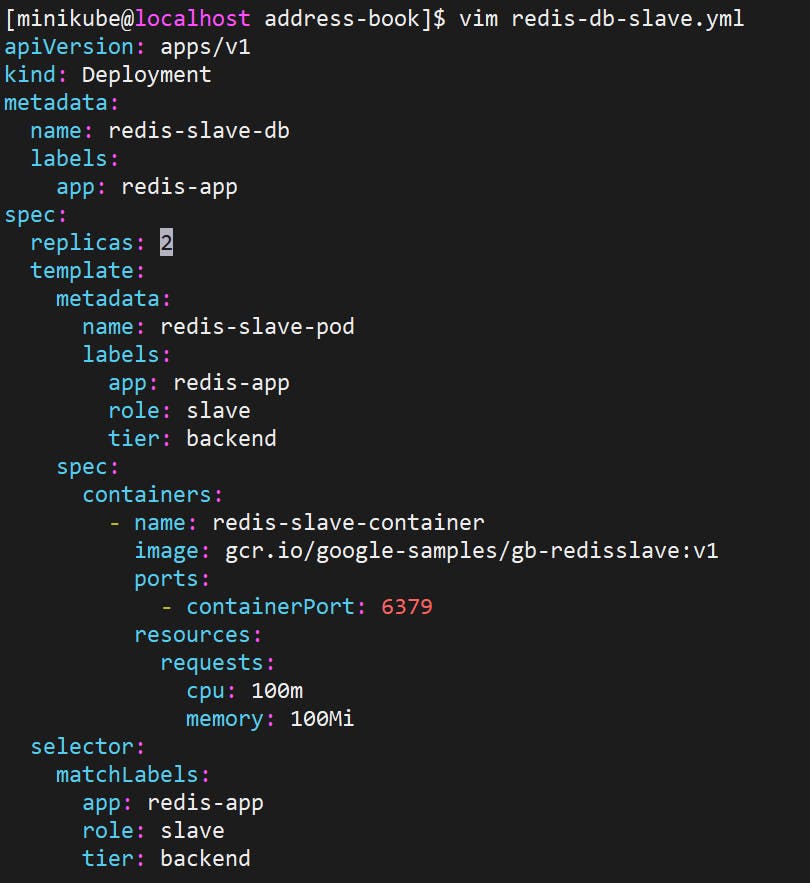
And, 2 Pods are responsible for Redis DB Deployment in Slave Nodes
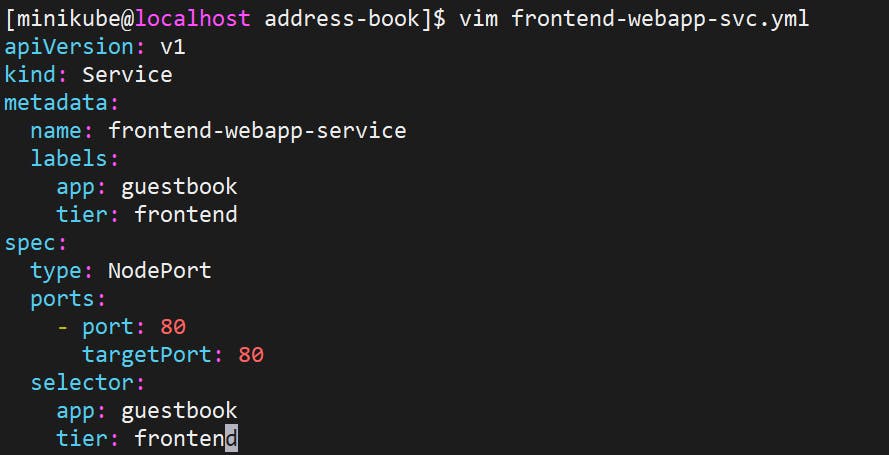
1 Service(LoadBalancer) is responsible for Frontend Web Application to access the Application from the outside world through the internet.
2 Services(ClusterIP), which are responsible for Redis DB for Master & Slave Nodes to exchange the information from a database to frontend Pods.
So, there are a total of 5 Pods & 3 Services involved in the deployment as shown in the figure:
Steps:
Set up Minikube.
Start Minikube service
minikube start
Create an address-book directory and get into it.
mkdir address-bookCreate a Deployment object for Redis Master DB.
Create a Deployment object for Redis Slave DB.
Create a Service object for Redis Master DB.

Create a Service object for Redis Slave DB.

Create a Deployment object for the Frontend web application.
Create a Service object for Frontend Web Application.
Run the following commands to deploy an application.
kubectl create -f <configuration_file>.yml
Check whether all the objects were deployed properly or not.
kubectl get all #list down all the pods & services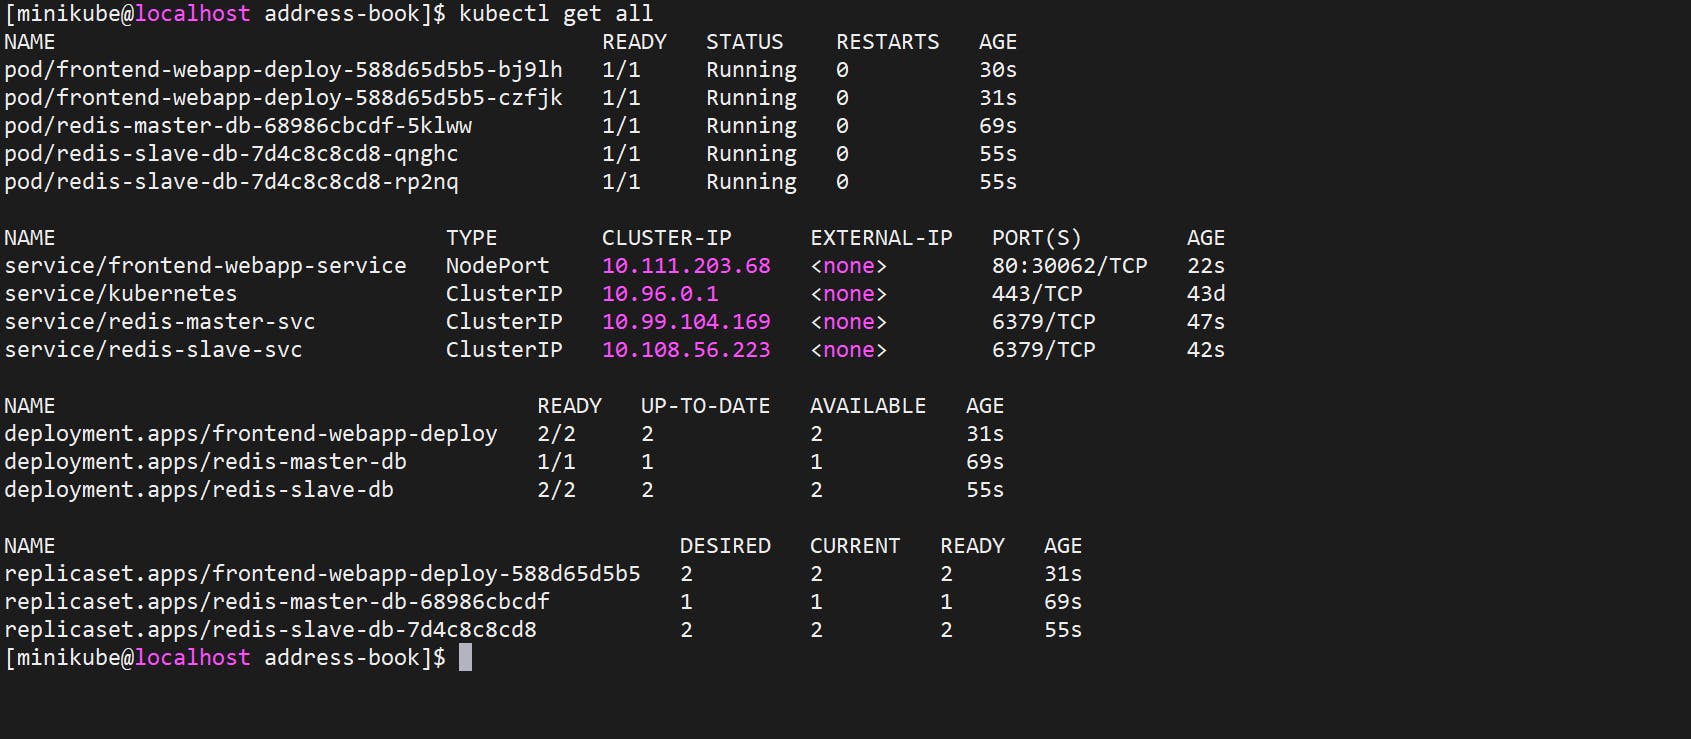
Verify that the Service is working by accessing the Application using the Service’s IP and Port.
The minikube service command is used to interact with services in a Minikube cluster. The --url option will return the URL that you can use to access the Service in your browser.
minikube service <service-name> --urlThis will return the URL for the Service, which you can use to access the Service in a web browser. the URL will be accessible only from within the Minikube cluster, not from your local machine.
Make a curl request to the Service using its IP address:
Access the todo-app using the Service’s IP and Port:
curl -L <service_ip>:<service_port>
If the NodePort Service is working correctly, you should see the response from the Application in HTML format.
To test the Kubernetes application on the browser we use the tool - ngrok
ngrok is a cross-platform application that enables developers to expose a local development server to the Internet with minimal effort. It creates a secure tunnel from the public internet to a local web server on your computer, making it possible to access the local web server from anywhere in the world.
Go to ngrok site, In that right click on Linux and copy the link address:

Create a new folder for ngrok setup, inside the folder, download the file from the command:
wget https://bin.equinox.io/c/bNyj1mQVY4c/ngrok-v3-stable-linux-amd64.tgz
Unarchive the downloaded file using the following command:
tar -xzf ngrok-v3-stable-linux-amd64.tgz
Add authentication to the default ngrok.yml configuration file. You'll get authtoken on the official ngrok website after you logged in.

./ngrok config add-authtoken <token>
Use the command
./ngrok http 192.168.49.2:30062to make a tunnel. Here http 192.168.49.2:30080 is url of a service given by minikube service.
above command creates a tunnel and gives IP address which is ended with ngrok.io
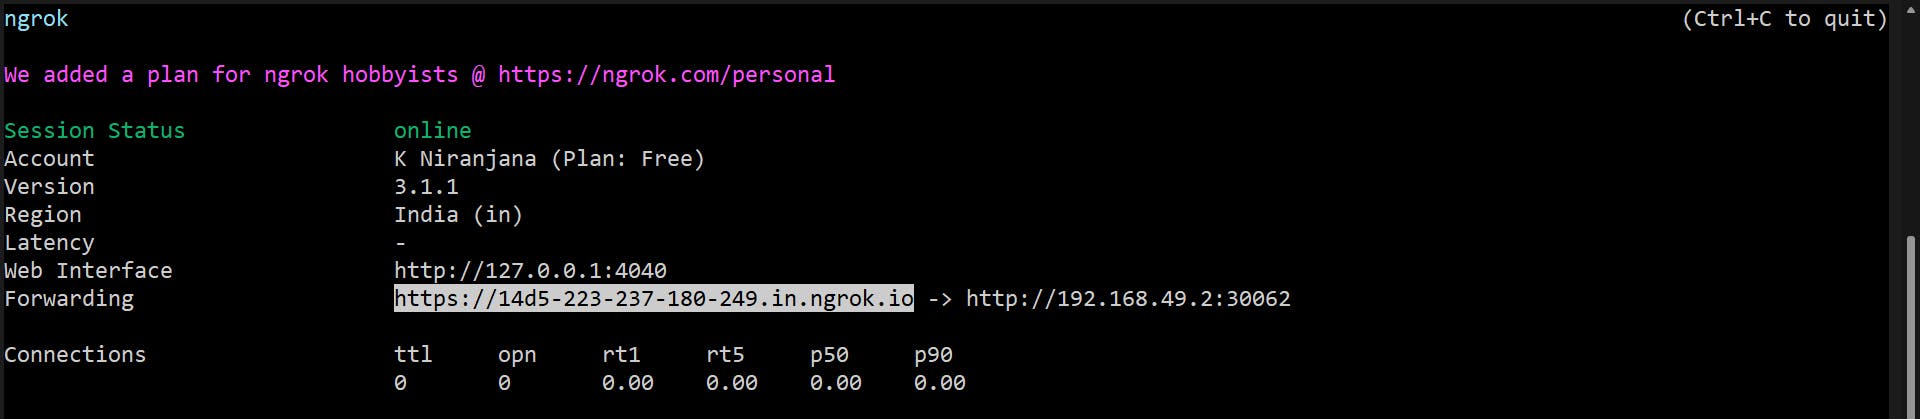
Copy 14d5-223-237-180-249.in.ngrok.io and paste it in your browser.
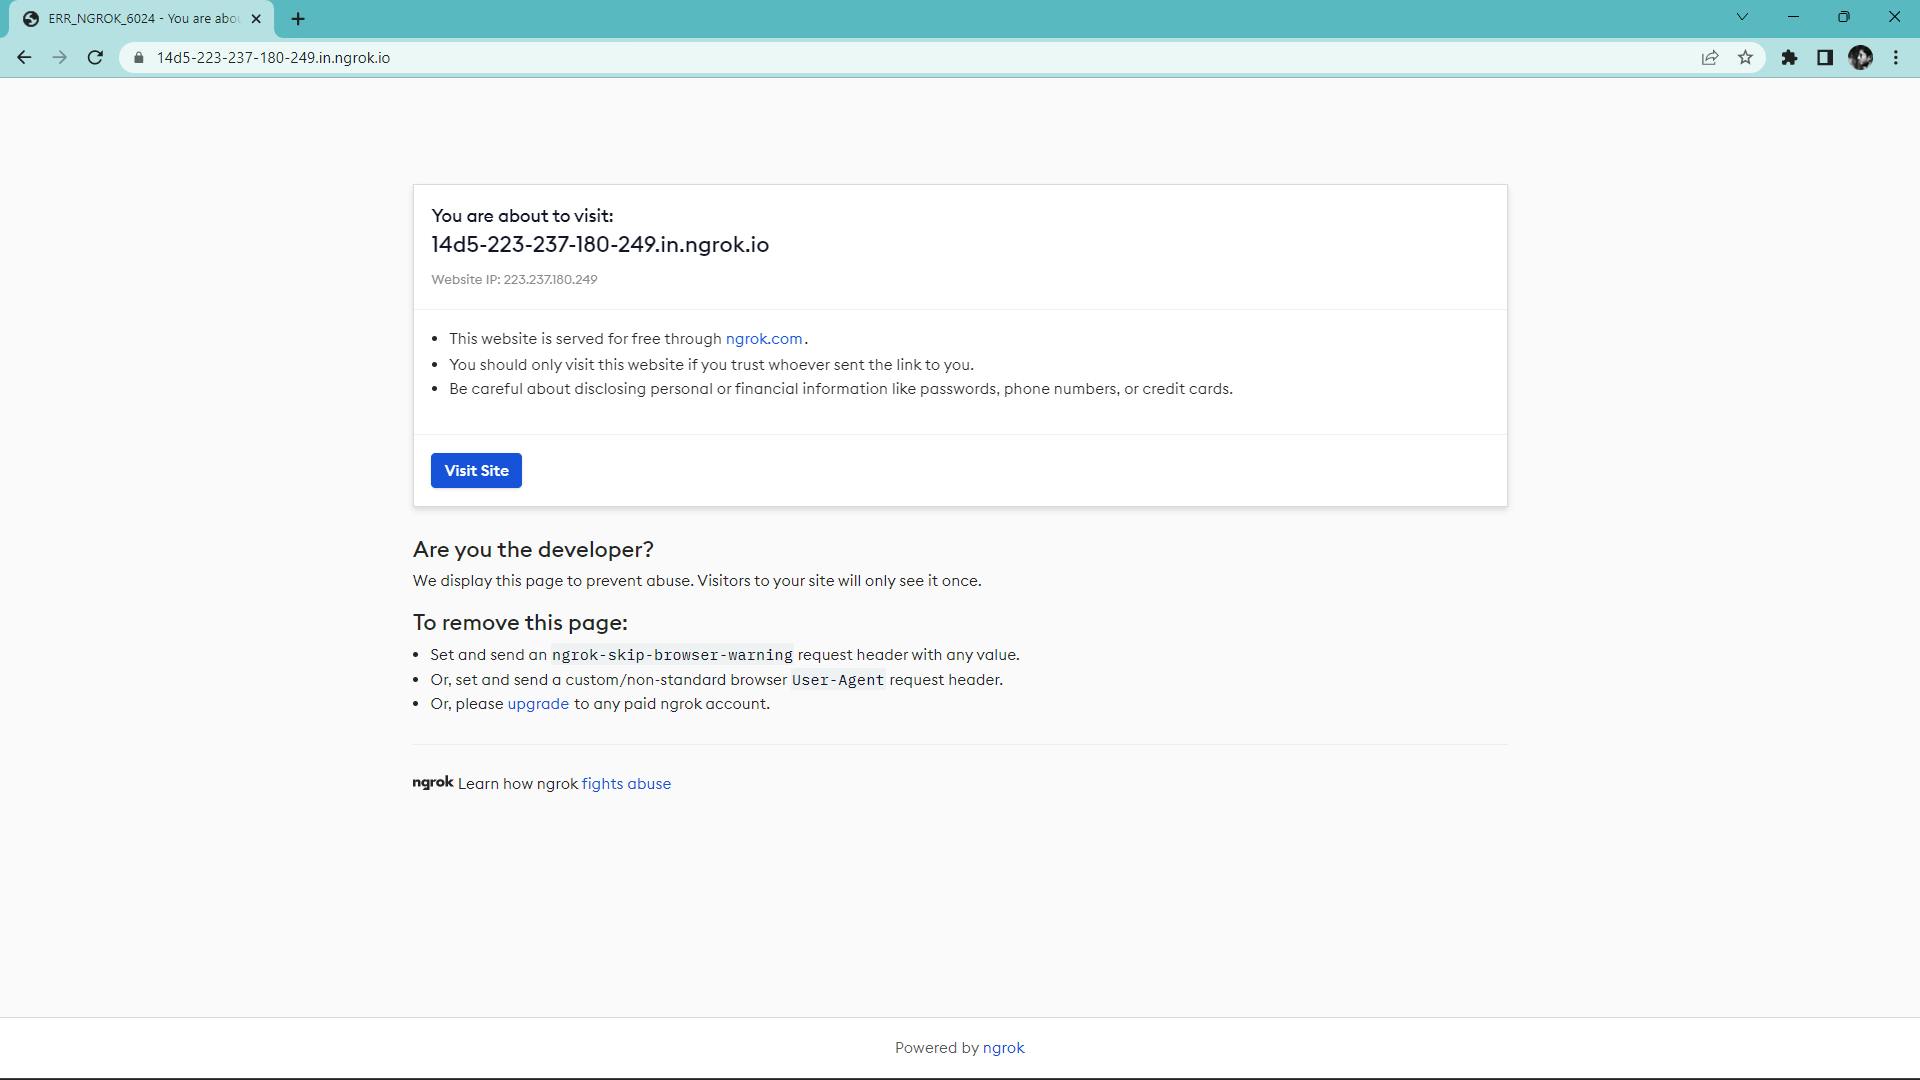
Click on Visit Site, to access the Web Application.
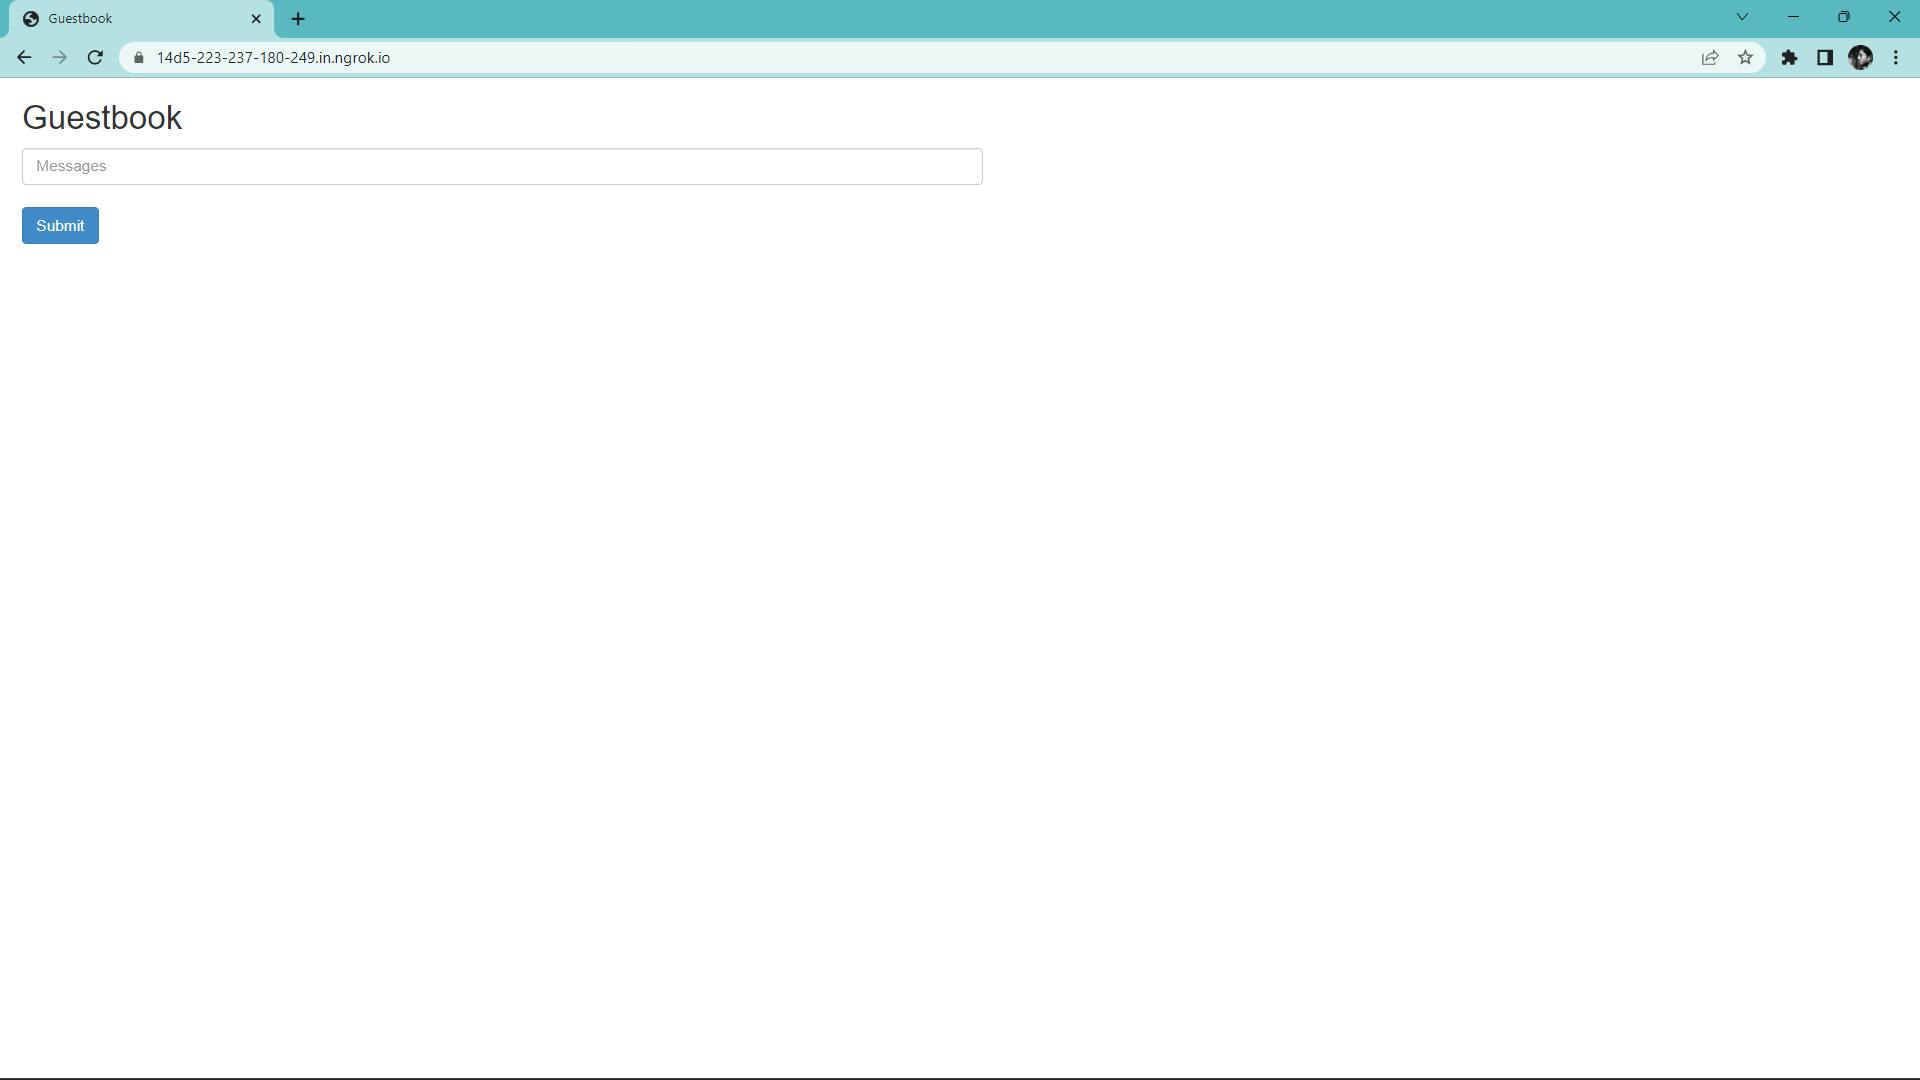
Thanks for reading! Hope you find this article helpful.
-K Niranjana